Diamond basics · Pillar guide
The Diamond 4Cs Explained — Cut, Color, Clarity & Carat
~12 min read
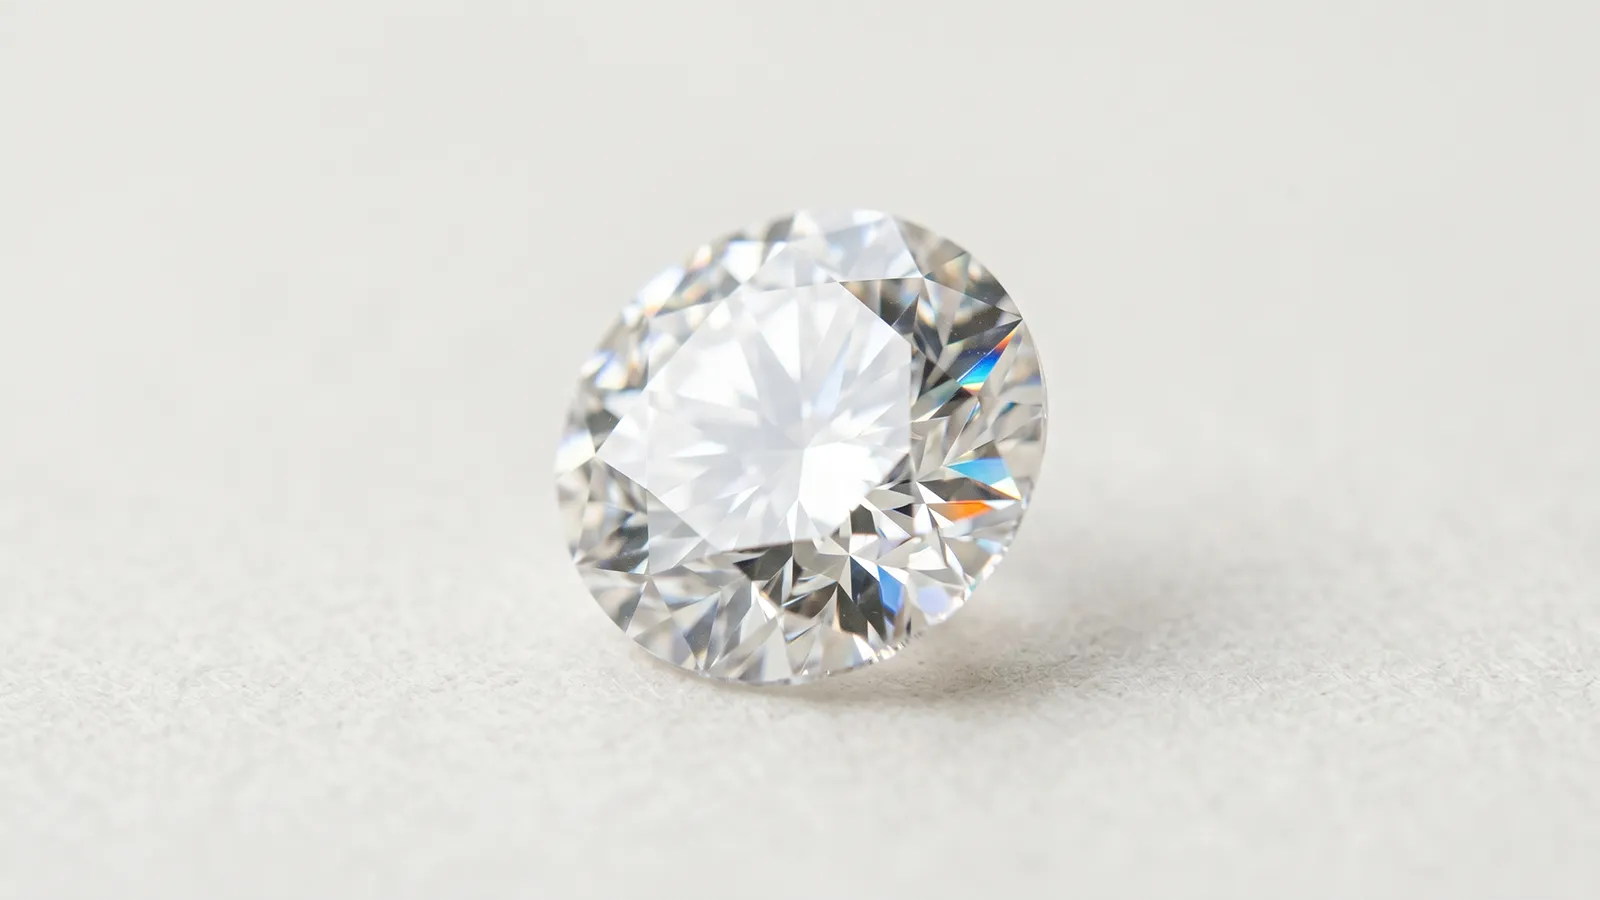
The 4Cs are the four measurements every diamond is graded on: cut, color, clarity, and carat weight. GIA developed the system in the 1940s and 50s to replace the vague, store-by-store descriptions that came before. It's still the only objective way to compare two diamonds sitting in different retailers' cases.
The 4Cs are also what makes a tool like ours possible. Once a diamond has a cut, color, clarity, and carat grade from GIA (or IGI), those four numbers describe the stone tightly enough that the same diamond, or one functionally identical to it, can be found at three different stores with a $2,000 price gap between them. That's the gap we help you close. But first you need to know what you're looking at, and that's what this guide is for.
If you only read one thing…
- Cut matters most for visible beauty. Never go below Very Good; on round brilliants, pay for Excellent.
- Color matters less than most people think. H is the sweet spot for white gold and platinum; G or F in yellow gold is wasted money.
- Clarity only matters as far as "eye-clean." VS1 or VS2 is almost always the right answer.
- Carat drives price more than anything else. Buy 0.9 instead of 1.0, or 1.9 instead of 2.0, and save roughly 15% for a size difference you can't see.
Our ranking for visual beauty per dollar: Cut > Color > Clarity > Carat. Flip it if size is what matters to the person wearing it.
Cut
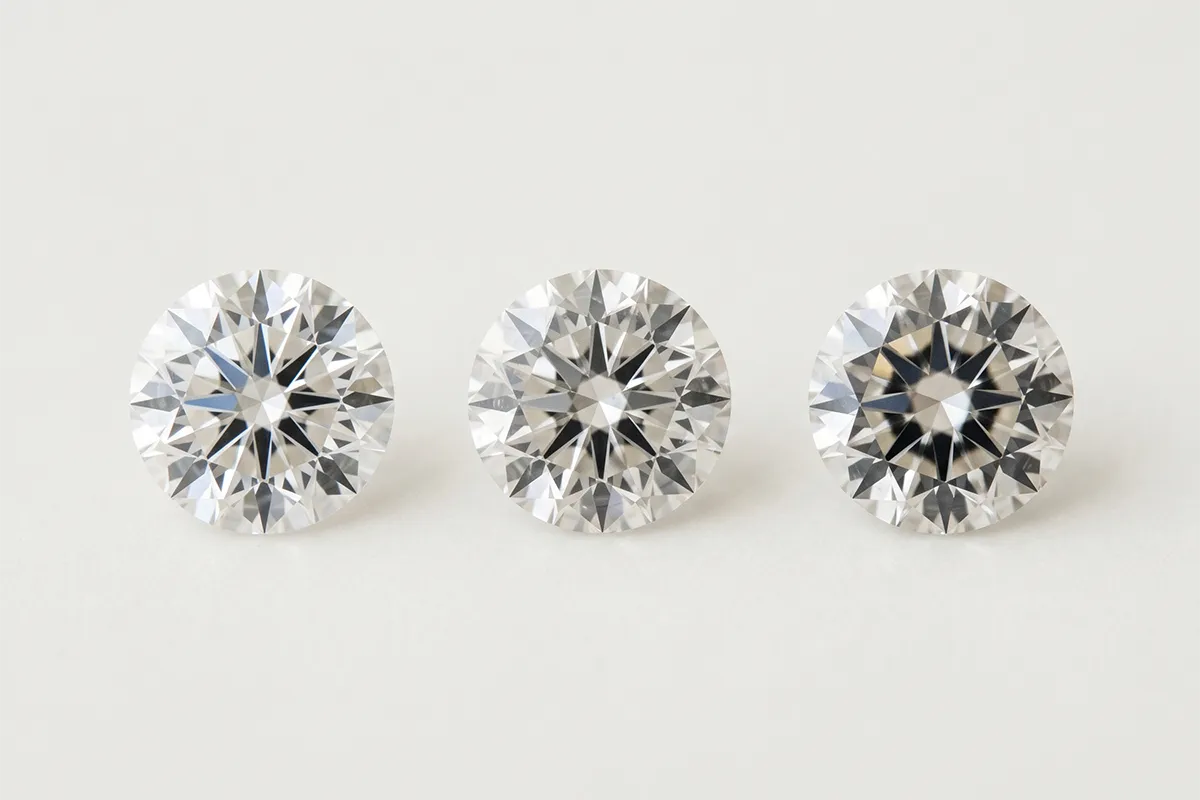
Cut is about proportion, symmetry, and polish: how well the facets were shaped and aligned so light enters, bounces around, and exits back through the top. It has nothing to do with the shape of the diamond. A round, an oval, and a princess are three different shapes, and each of them can be a good or bad cut. People mix this up constantly, and retailers don't always correct them.
GIA grades cut on a five-step scale: Excellent, Very Good, Good, Fair, Poor. One catch worth knowing: GIA only issues a cut grade for round brilliant diamonds. Ovals, pears, cushions, emeralds, and other fancy shapes don't get a GIA cut grade at all. For those, you have to rely on the reported proportions (table %, depth %, crown angle) and on seeing the stone, either in person or via a 360° video.
Why does cut dominate? Because brilliance, fire, and scintillation (the three things that make a diamond look like a diamond) are cut effects. A 1.00ct Excellent-cut stone will out-sparkle a 1.20ct Fair-cut stone from across the room. A badly cut diamond leaks light out the bottom (the "fish-eye" effect) or through the sides, and no amount of color or clarity fixes that. Good color in a bad cut is lipstick on a light bulb.
Where people overpay: ignoring the proportions under the cut grade. A diamond can be GIA-graded Excellent and still fall at the edge of the ideal range: a deep stone that wastes weight on depth the eye never sees, or a shallow stone that shows a dark center. Target a table between roughly 54–58% and depth between 60–63% on rounds, and verify via an Idealscope or ASET image if the retailer provides one. Most don't; the ones that do (Whiteflash, James Allen True Hearts, Brian Gavin) are worth a closer look.
Our rule: never go below Very Good. On rounds, start at Excellent and don't apologize for it. This is the one C where spending more is almost always worth it.
Color
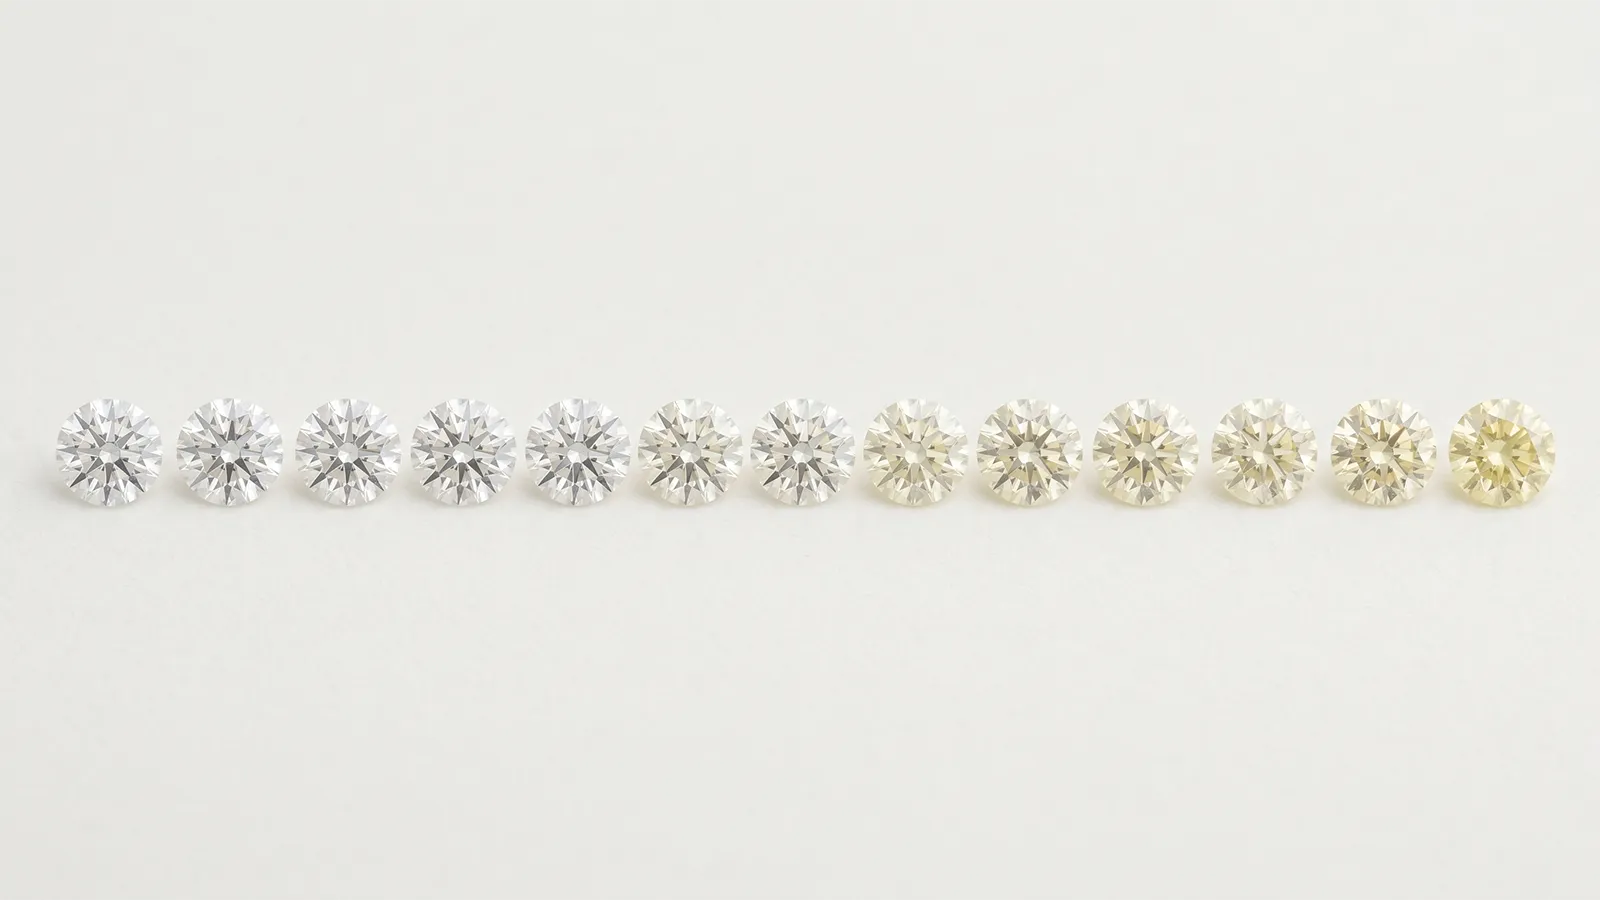
Color grades how little color a white diamond has. GIA uses a letter scale from D (completely colorless) down to Z (noticeably light yellow or brown). It starts at D, not A, because GIA deliberately reset the scale in 1953 to get away from the inflated "AAA" grading that retailers were using at the time. Anything lower than Z stops being a "white" diamond and becomes a fancy color diamond, which is a separate market.
The grades cluster into groups: D–F colorless, G–J near-colorless, K–M faint, N–R very light, S–Z light. In practice, almost no buyer outside a gemology lab can tell a D from a G face-up in a ring setting. The difference only starts becoming visible at J and below, and even then it depends heavily on the setting metal.
Speaking of which: the metal does half the work. White gold and platinum show color honestly, so lower grades look warmer next to a cool metal. Yellow gold and rose gold reflect warm tones into the stone no matter what, so a J or K can look indistinguishable from a G in that setting. If you're going yellow or rose gold and buying anything higher than J, you're paying for a grade the wearer will never perceive.
Our sweet spot: G or H for white gold / platinum. Both are "near-colorless" and face up white without the D–F premium. For yellow or rose gold, J or even K is fine and can save you 15–25% versus an H. The only reason to go higher than G is if you're buying an emerald cut or Asscher. Step cuts have long, open facets that expose color more than brilliant-cut facets do, so we'd bump up one grade on those.
One warning: fluorescence. Some diamonds glow blue under UV light. In D–H stones, strong fluorescence can cause a hazy, milky look in daylight (GIA estimates this affects a small percentage of strong-fluoro stones, but it's real). In I–M stones, strong fluorescence can actually help: the blue cancels the yellow. Medium or none is safe in any grade. Don't pay a premium for "none"; do avoid "strong" in higher color grades without seeing the stone.
Clarity
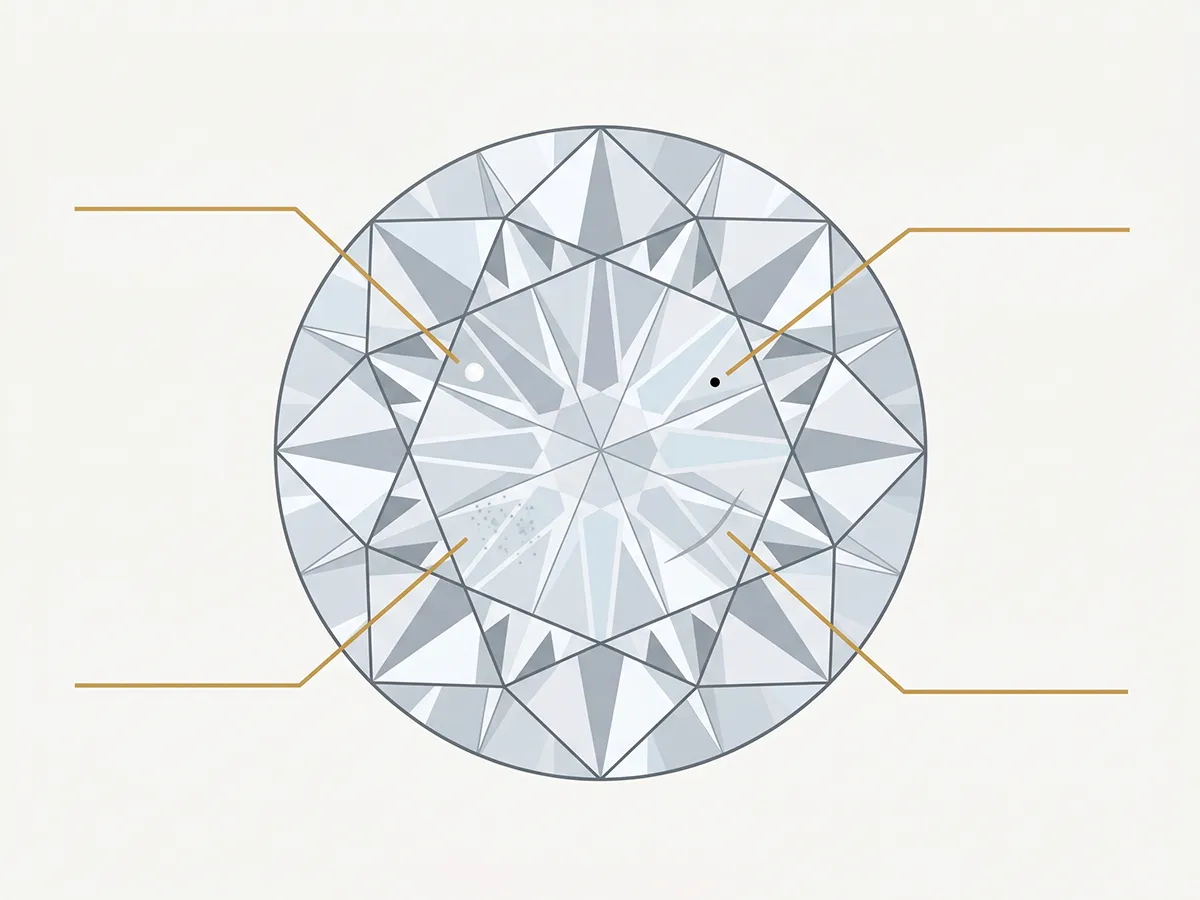
Clarity measures the internal imperfections (inclusions) and external blemishes in a diamond. Natural diamonds formed under heat and pressure a billion years ago; inclusions are the fingerprint of that process. The GIA scale, from cleanest to most included:
- FL: Flawless. Nothing visible at 10x magnification.
- IF: Internally Flawless. Minor surface blemishes only.
- VVS1, VVS2: Very, very slightly included. Inclusions extremely hard to spot at 10x.
- VS1, VS2: Very slightly included. Minor inclusions, difficult to see at 10x.
- SI1, SI2: Slightly included. Noticeable at 10x; sometimes visible to the naked eye.
- I1, I2, I3: Included. Obvious inclusions, often affecting transparency or durability.
The only distinction that matters to the eye is "eye-clean" vs "not eye-clean": whether you can see inclusions at normal viewing distance without a loupe. FL, IF, VVS, and most VS stones are eye-clean. "Loupe-clean" (clean at 10x) is what collectors pay for; "eye-clean" is what you actually see on a finger.
VS1 and VS2 are almost always the right answer. They're eye-clean in every shape and size a normal buyer is considering, and they cost meaningfully less than VVS. We'd skip VVS unless you're dealing with a step cut or a very large stone (3ct+, where inclusions have more room to hide and then surprise you).
SI is where you have to look carefully. Many SI1 stones are eye-clean from the top; many aren't. Location is everything: an inclusion under the table (center) is far more visible than one tucked under a prong or near the girdle. Always view a high-res image or 360° video before buying SI. If the retailer doesn't show one, don't go below VS2 there.
Step cuts are the exception to all of this. Emerald and Asscher cuts have long, hall-of-mirrors facets that don't mask inclusions the way a brilliant cut does. An eye-clean SI1 round might have a visible inclusion as an emerald cut of the same stone. For step cuts, bump up to VS1 or higher and don't rely on "it's only SI1."
Carat
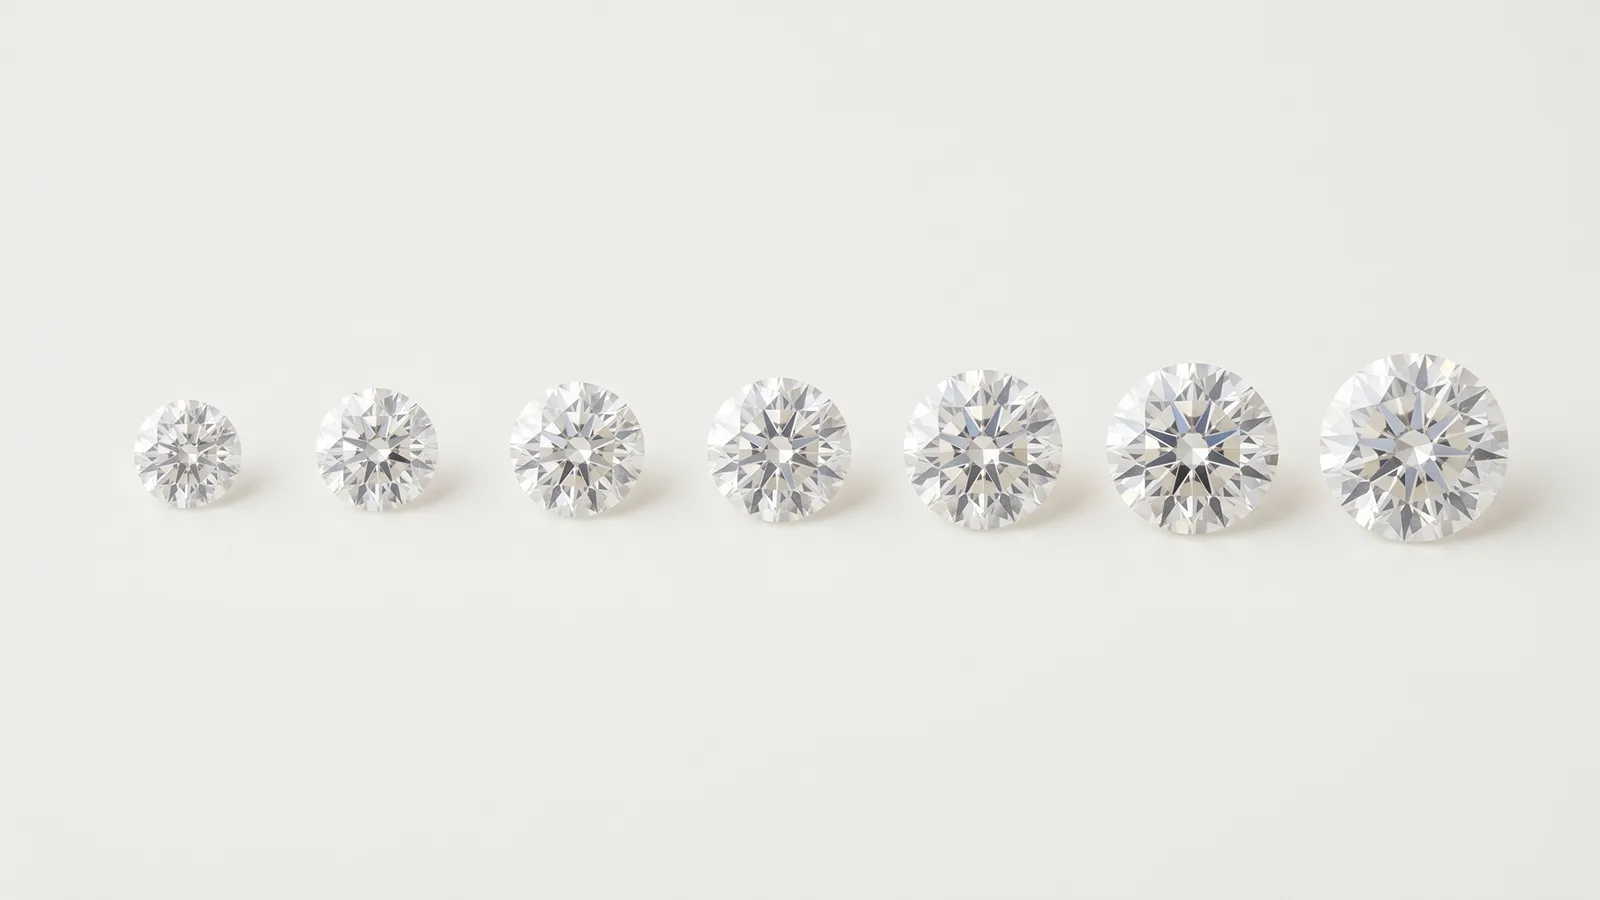
Carat is weight, not size. One carat = 200 milligrams = 0.2 grams. The word comes from the carob seed, which was historically used as a weight reference in the gem trade because the seeds were unusually consistent in mass. A 1.00-carat round brilliant is roughly 6.4mm across the top; a 2.00-carat round is around 8.1mm. Doubling the weight adds only ~25% to the face-up diameter, because weight scales roughly with the cube of linear size while what you see is mostly a 2D face.
Rough conversions for round brilliants (ideal cut):
- 0.50ct ≈ 5.1mm
- 0.75ct ≈ 5.8mm
- 1.00ct ≈ 6.4mm
- 1.50ct ≈ 7.4mm
- 2.00ct ≈ 8.1mm
- 3.00ct ≈ 9.3mm
Price does not scale linearly with weight. Two things make it worse: the "magic size" premium at round-number thresholds, and the fact that larger rough diamonds are exponentially rarer. A 2.00ct can easily cost four times a 1.00ct of identical quality, not twice.
The magic-size trick is one of the easiest wins in diamond buying. The market prices 1.00ct at a premium because people search for it. A 0.95ct of the same color/clarity/cut costs roughly 10–15% less. The face-up diameter difference is about 0.1mm, genuinely invisible. Same story at 1.90 vs 2.00, 0.90 vs 1.00, and 0.45 vs 0.50. If you're budget-sensitive, always check the tier just below the round number.
One more thing to watch: spread vs depth. Two diamonds of the same carat weight can look different sizes face-up if one is cut deeper than the other. A deep stone is "hiding" weight below the girdle where the eye never sees it. Check the mm measurements on the report. For a 1.00ct round, anything below 6.3mm is cut deep, anything above 6.5mm is cut spready (and usually shallow and leaky).
The simplest way to think about it: pick a target size first, then back into the carat. If you want a 1.00ct look, shop 0.90–1.00ct in the right proportions rather than locking to "one carat" on the certificate.
Which C matters most?
There's no single right answer, because the 4Cs answer two different questions: how beautiful does the diamond look? and how big is the diamond? Cut and color dominate the first; carat dominates the second.
For visual beauty per dollar
Cut > Color > Clarity > Carat
Cut dictates brilliance. Color sets the background tone. Clarity only matters up to eye-clean. Carat is the biggest cost driver but the smallest brilliance driver.
When size is the goal
Carat > Cut > Color > Clarity
If the wearer cares about size above all, flip carat to the top, but still protect the cut. A big dim diamond looks like glass.
Our strong default for most buyers: spend on cut first, then trade color and clarity down to hit your carat target. A 1.00ct Excellent-cut H VS2 will out-look a 1.30ct Good-cut F VVS1 at almost any budget.
How the 4Cs show up on a grading report
A GIA grading report is the single document that makes diamonds comparable across retailers. Every GIA report lists carat weight, color grade, clarity grade, and cut grade (on rounds), plus measurements in millimeters, proportions (table %, depth %, crown angle, pavilion angle), symmetry and polish grades, fluorescence, and a plot of the inclusions with their exact location inside the stone.
Two things to check first on any report: the report number (verify it matches on GIA.edu; any retailer can print a PDF, but only GIA's lookup confirms the stone) and the laser inscription on the girdle (most modern GIA stones are inscribed; the number should match). If a retailer is unwilling to share the exact report number before you commit, treat that as a red flag.
We cover certifying labs in more depth in our diamond certification guide, including how GIA compares to IGI, EGL, and in-house store reports. See also our GIA vs IGI comparison for the short version.
A worked example: $5,000 budget, 1-carat round
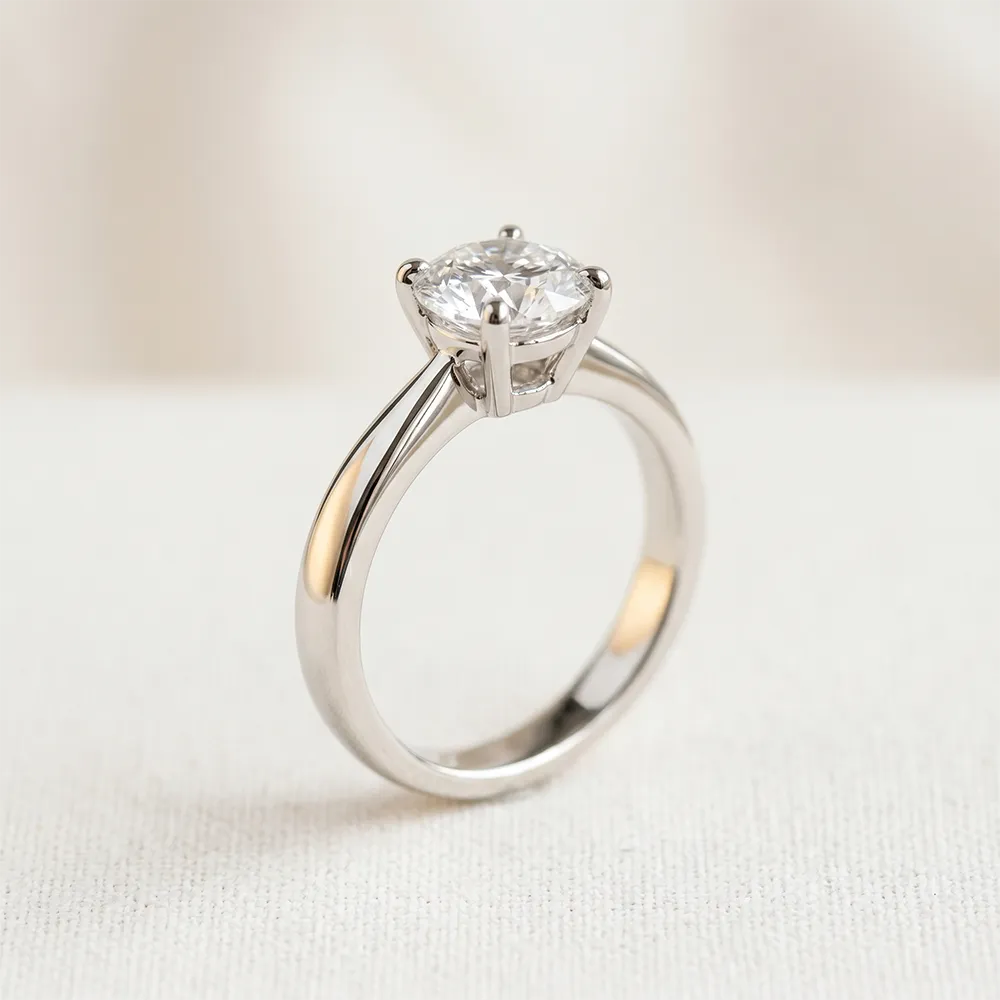
Let's put the rules together. Budget: $5,000. Goal: a classic round solitaire around 1 carat, white gold setting, for someone who wants a bright white stone that reads as "one carat" on the finger.
The combination we'd target: 1.00ct · Excellent cut · H color · VS2 clarity · GIA certified. Here's the logic:
- 1.00ct because the wearer wants a one-carat look; consider 0.95ct to save ~12% if you're close to the edge of the budget.
- Excellent cut because this is where the sparkle comes from. Non-negotiable on a round.
- H color because it faces up white in white gold and saves 15–25% versus F or G.
- VS2 because it's eye-clean in a brilliant cut and costs 20–30% less than VVS.
- GIA certified because everything above depends on a trusted grade. An IGI report is also fine; avoid EGL and in-house reports at this budget.
The alternative trade-off (going for more carat and compromising cut) is the single most common mistake we see. A 1.30ct Good-cut G VVS1 looks smaller and dimmer than the specs above, despite technically being "better" on three of four grades. Cut wins.
Pricing on stones matching roughly those specs moves daily. Rather than quote a number that'll be wrong by next week, here are three live engagement rings at different price points, pulled now from our comparison feed.
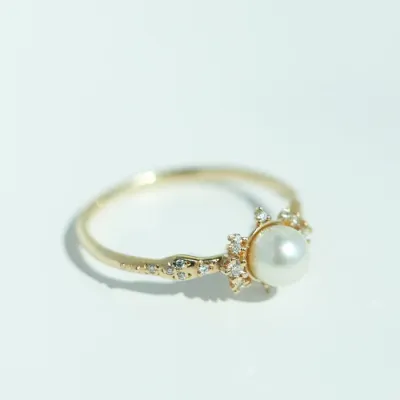
Catbird
Birth of Venus Ring
$1,212
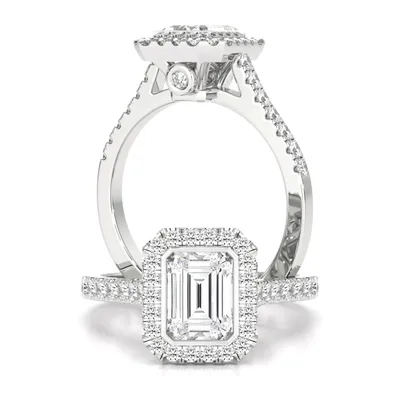
Purely Diamonds
A stunning lab grown emerald cut diamond halo with shoulder stones set in platinum
$2,811
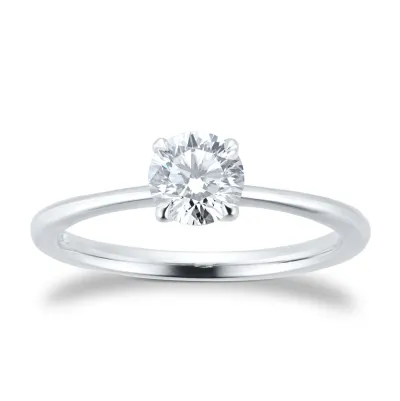
Goldsmiths
Exclusive Platinum 0.70cttw Brilliant Cut Solitaire Goldsmiths Signature Diamond Engagement Ring
$6,250
For the full, always-current list at each budget tier, start on the engagement rings page and filter by carat and price.
FAQ
What's the most important C?
Cut. It's the C that controls how much light the diamond returns, and it has the biggest visible impact per dollar. A 1.00ct diamond with an Excellent cut looks bigger and brighter than a 1.20ct diamond with a Fair cut, and usually costs less. Our rule: never go below Very Good, and pay for Excellent on round brilliants.
Are lab-grown diamonds graded on the same 4Cs?
Yes. Labs like GIA and IGI grade lab-grown diamonds on the same cut, color, clarity, and carat scales as natural diamonds, because the material is chemically identical. The price structure is completely different: lab-grown are dramatically cheaper at equivalent specs. See our lab-grown vs natural diamond comparison for the numbers.
Do all diamonds have certificates?
No. Smaller stones (typically under 0.30ct) are often sold without an individual grading report. Above that weight, any diamond you're paying real money for should come with a GIA or IGI report — if it doesn't, you're buying the seller's word, not a graded stone.
Can I trust non-GIA reports?
Trust varies. GIA and IGI are the two widely respected labs. EGL, GSI, and in-house store reports are widely considered to grade more loosely — a stone that reads "G/VS2" on an in-house report can easily grade H/SI1 at GIA. Price accordingly. When comparing two retailers, it's worth adjusting before comparing a GIA-graded stone to a non-GIA one.
What's a 'magic size' diamond?
A weight right at the common round-number thresholds: 0.50ct, 0.75ct, 1.00ct, 1.50ct, 2.00ct. Prices jump sharply above each threshold because demand concentrates there. A 0.95ct stone can cost 15% less than a 1.00ct stone of identical quality, and the face-up difference is roughly 0.1mm, invisible to the eye.
How much does each C affect the price?
Roughly: Carat is exponential (doubling the weight more than doubles the price). Cut, color, and clarity each move price within a band. Stepping down one color grade (G to H) saves about 8–12%; one clarity grade (VS1 to VS2) saves 10–15%; dropping from Excellent to Very Good cut saves 10–20% but costs you visible brilliance. Carat dominates; the other three let you tune within a given weight.
Next steps
Deep dive
Diamond Cut
Proportions, angles, and how to read a cut report.
Deep dive
Diamond Color
The D–Z scale by metal, with real price deltas.
Deep dive
Diamond Clarity
Inclusion types, where they hide, and when to pay up.
Deep dive
Diamond Carat
Weight, size, magic numbers, and mm conversions.
Shop
1-carat engagement rings
Live prices compared across many online jewelers.
Compare
GIA vs IGI certification
Which lab to trust, and when they disagree.
Sources
- GIA — The 4Cs of Diamond Quality (canonical definitions for cut, color, clarity, carat).
- GIA — History of the 4Cs (Robert Shipley, development through the 1940s and 50s).
- GIA — GIA Diamond Cut Grading System (applies to standard round brilliants only).
- Wikipedia — Diamond (gemstone) (general material reference).
- Beyond 4Cs — 4Cs overview (independent buyer's-guide reference).
- The Diamond Pro — Diamond Cut (independent buyer's-guide reference).